Get Crafty: DIY Utility Garden Seat Cover
20 May 2022
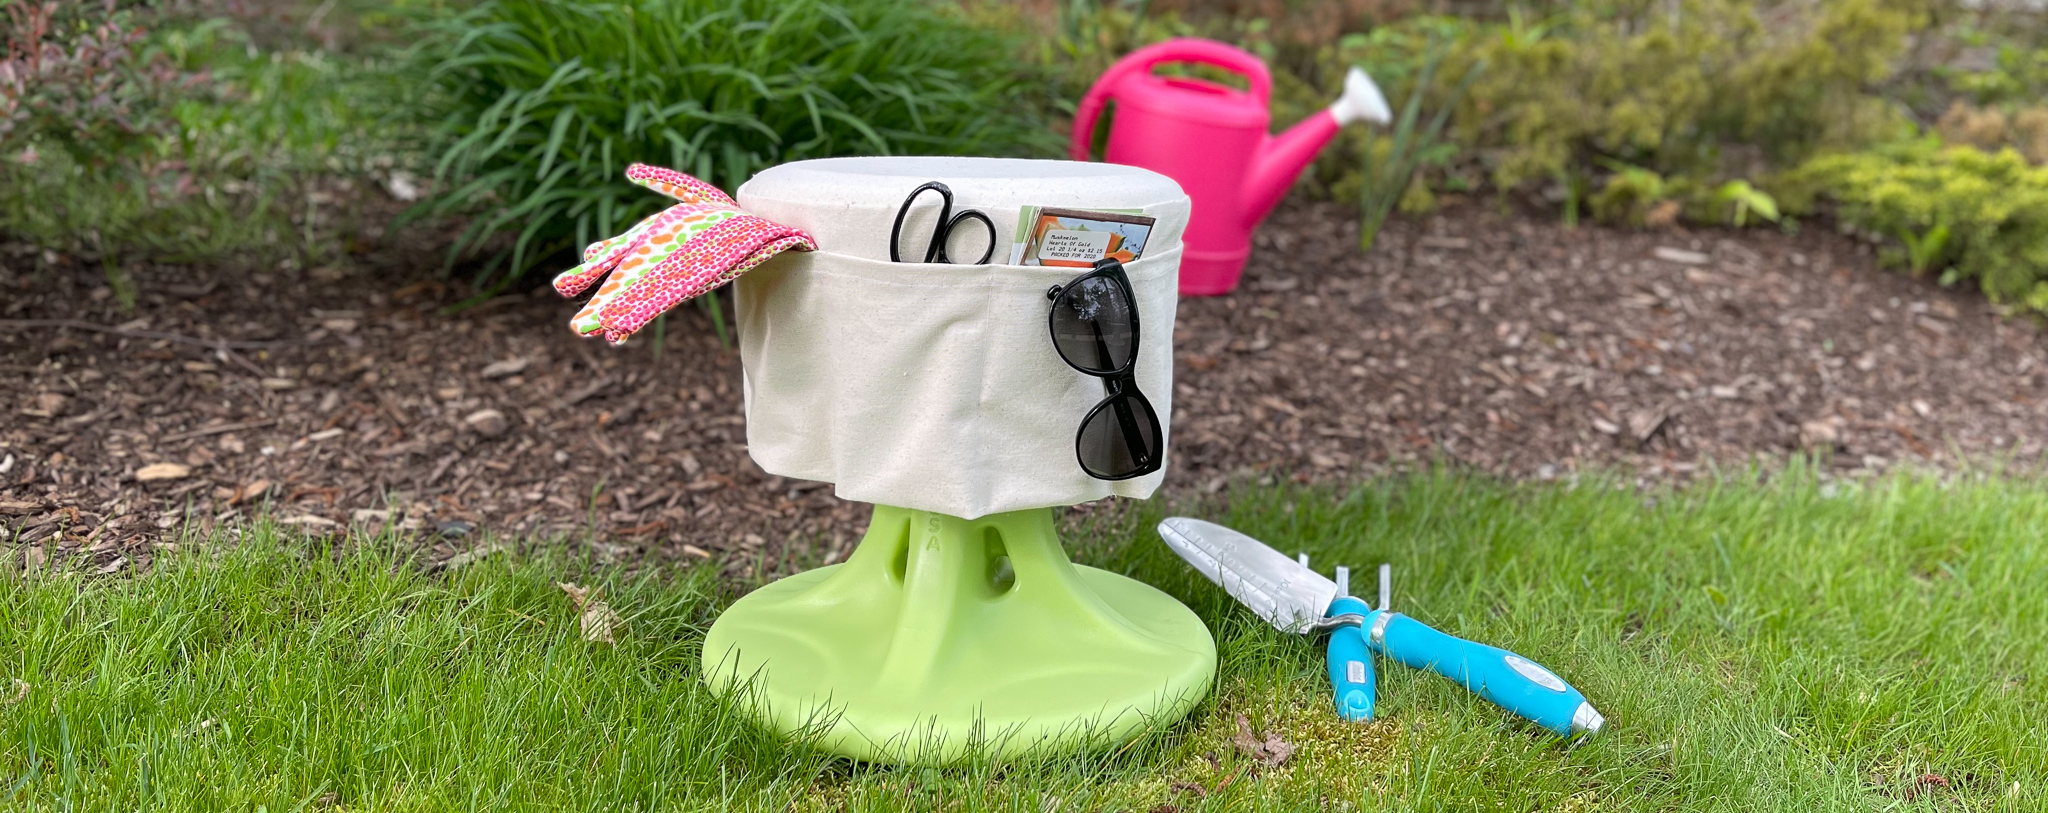
The Simplay3 Rock & Reach Garden Seat offers versatile seating for tasks in the garden, garage or home with 360 degree tilting to relieve tension in your neck, back and knees. This little DIY utility cover makes these tasks that much easier with pockets for your tools, seeds, sunglasses, phone, gardening gloves, and more. You can use materials lying around the house or customize your seat with any woven fabric!
Skill Level: Intermediate
Time: 2 hours
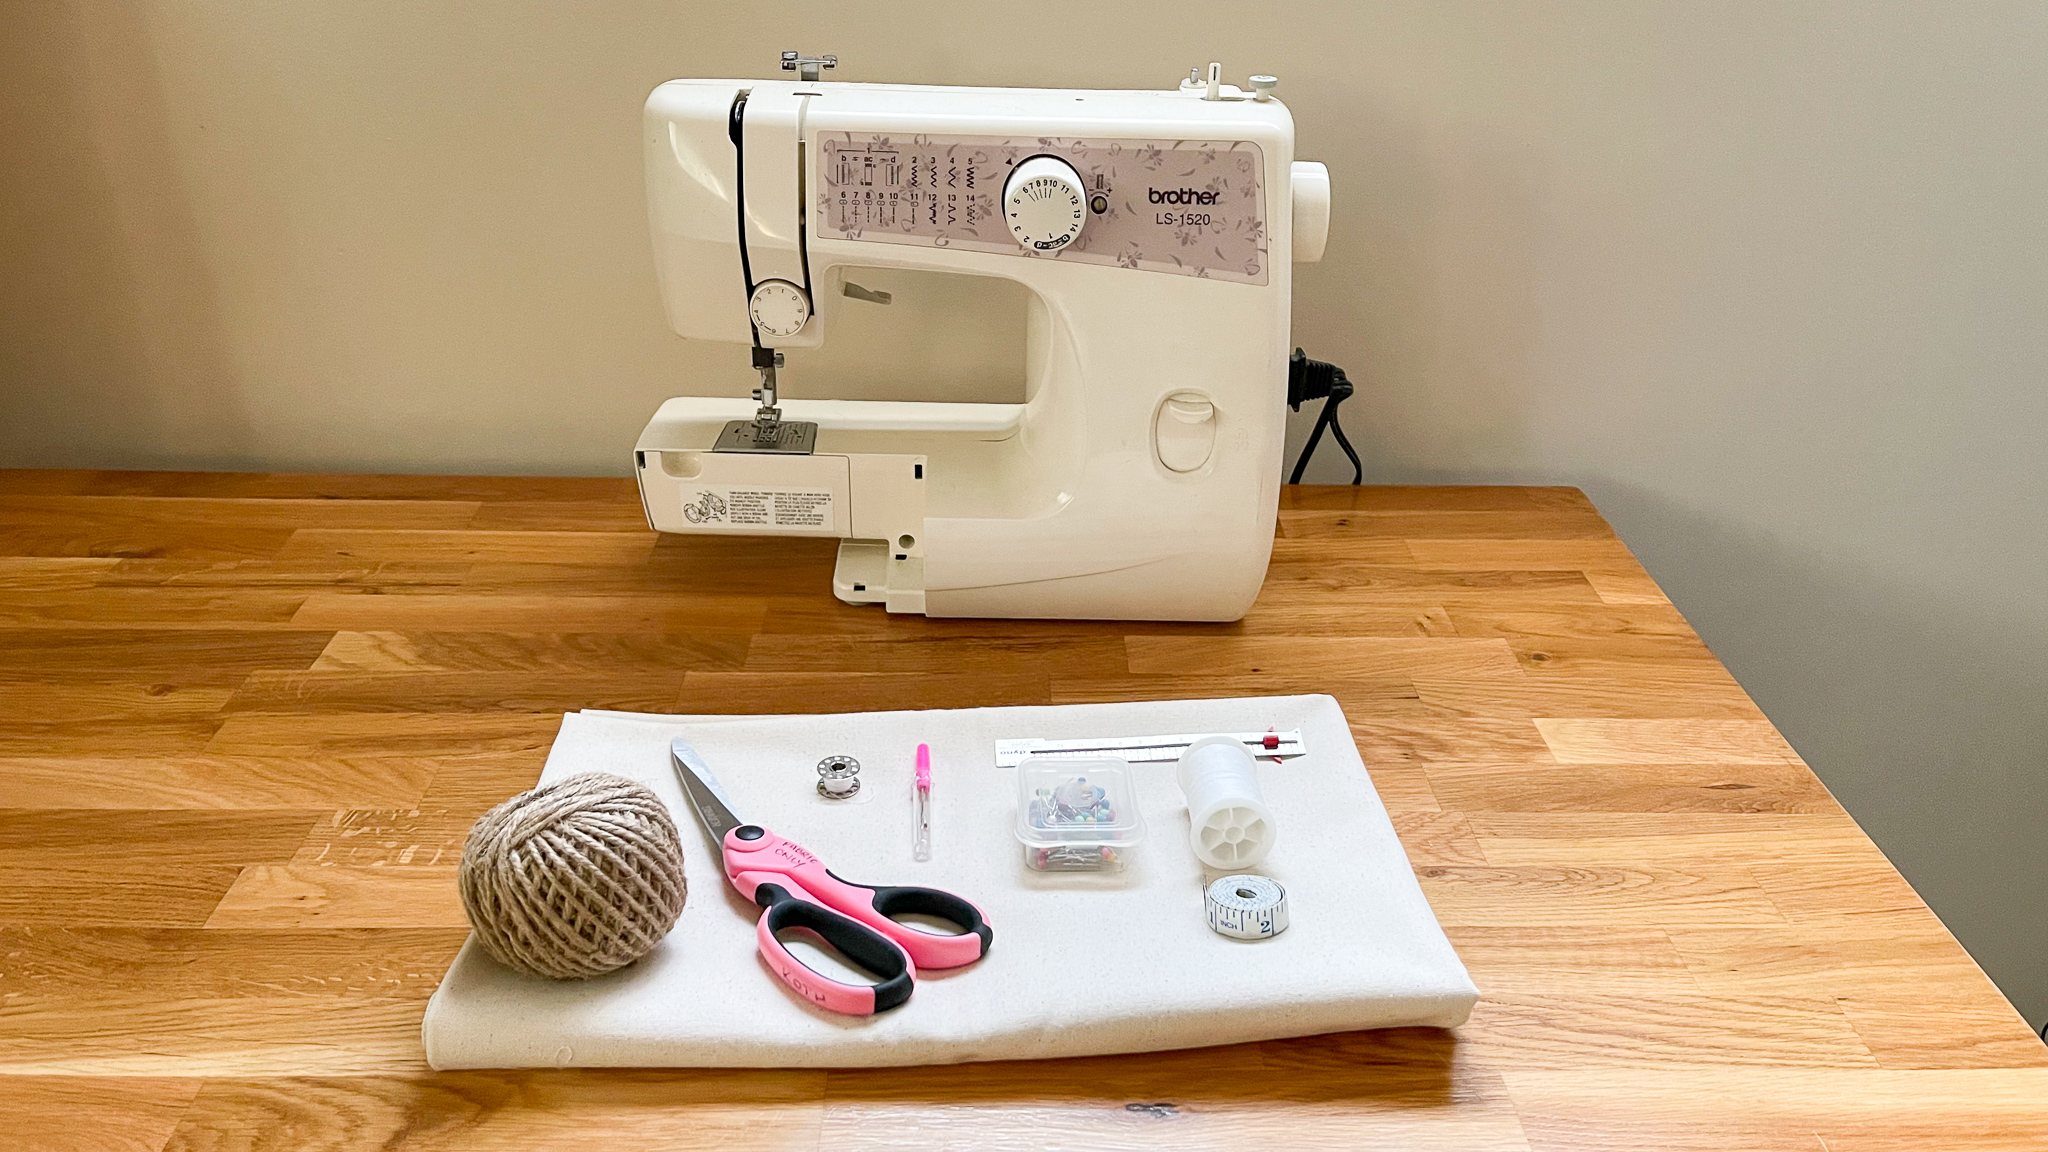
What you will need:
Sewing Machine
Pins
Measuring Tape
Scissors
Thread and Bobbin
Fabric Marker or Pencil
Iron
Safety Pin
Hem Gauge (optional)
1 yard of canvas or other non-elastic fabric
approx. 5 ft. of twine or other string
Step 1
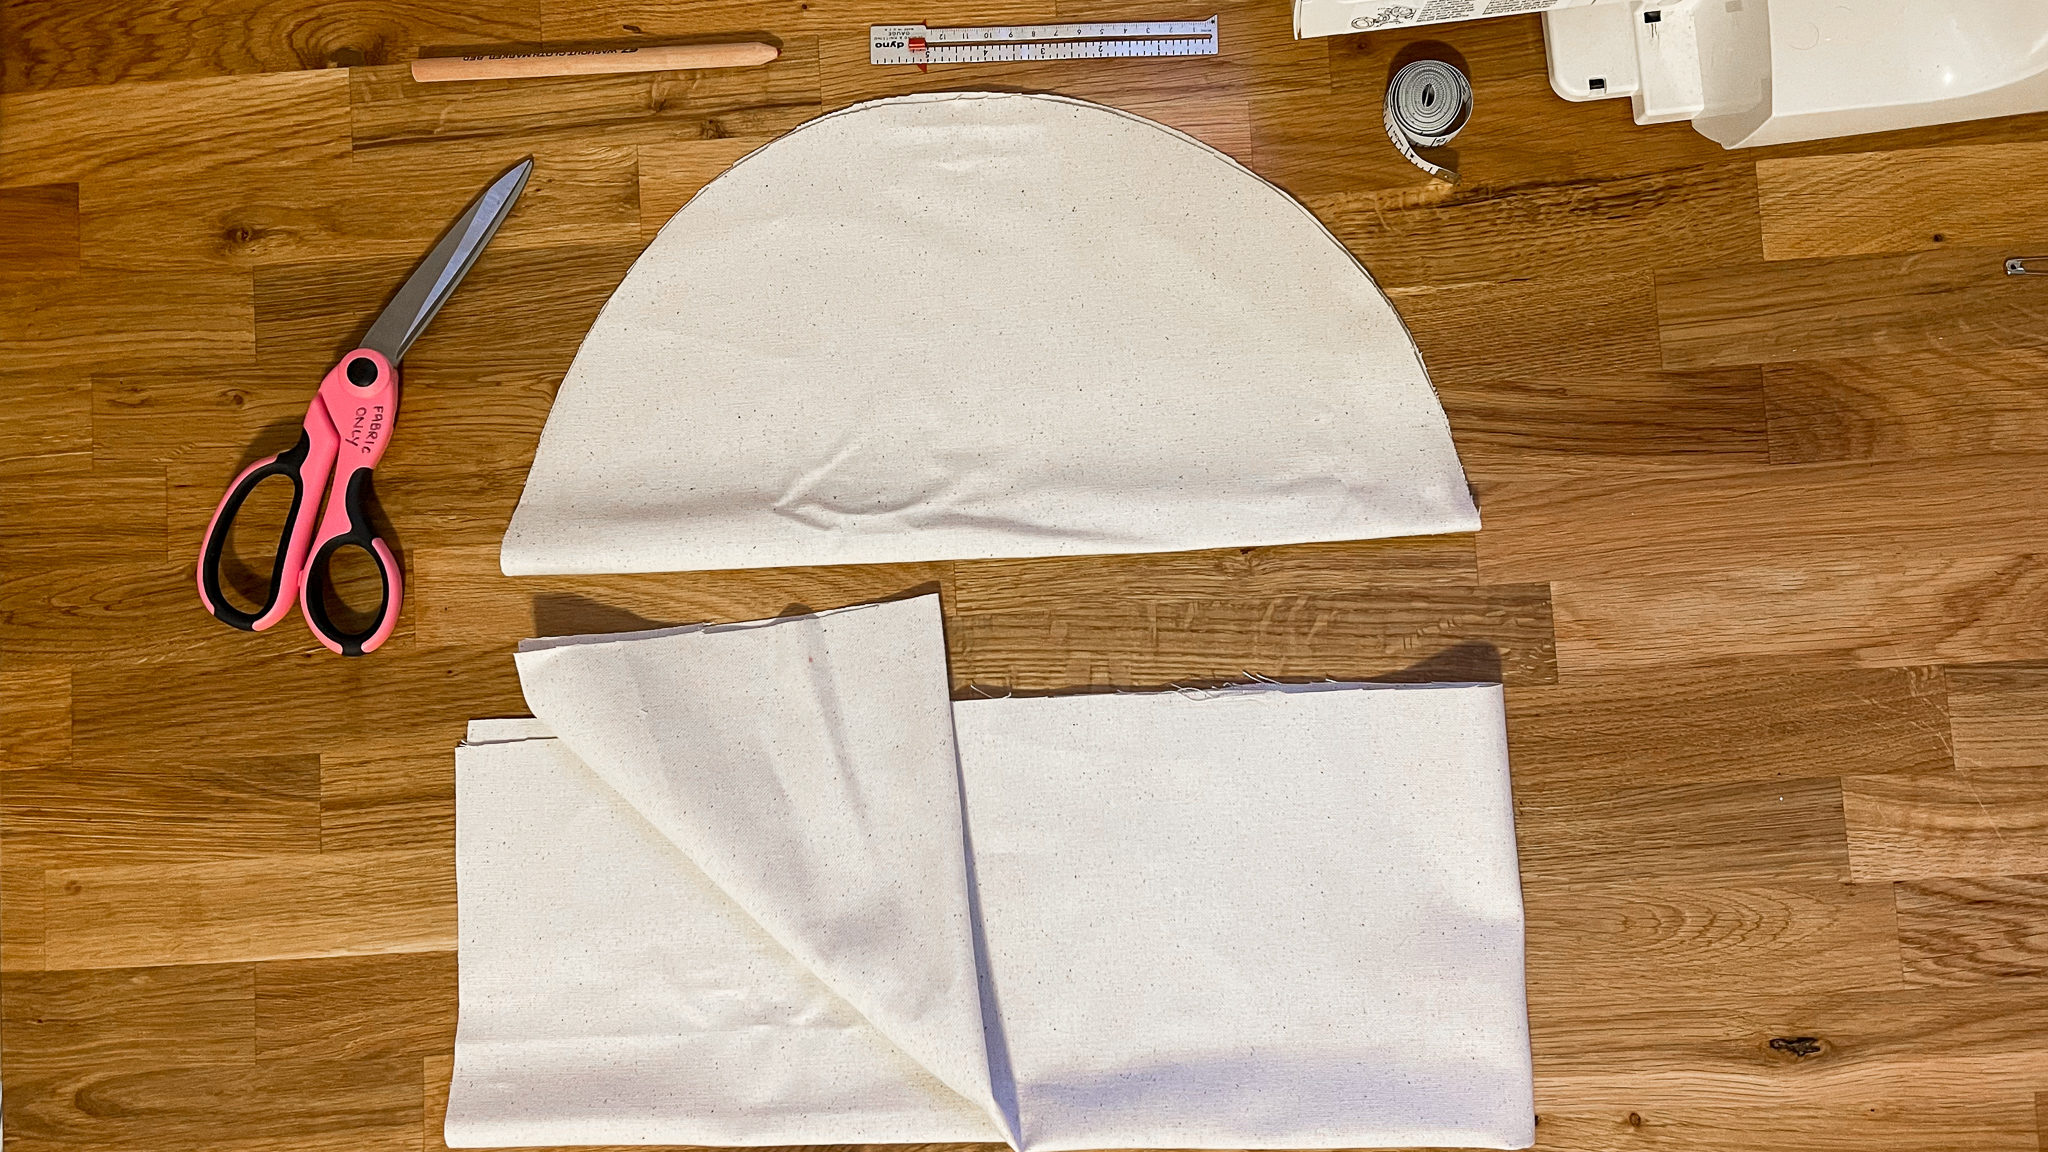
Fold fabric in half. From the folded edge, cut a circle with a radius of 8.5" and a rectangle with a width of 7" and length of 35.25". You will end up with a circle 17" wide and a rectangle 35.35" x 14" once unfolded.
Step 2
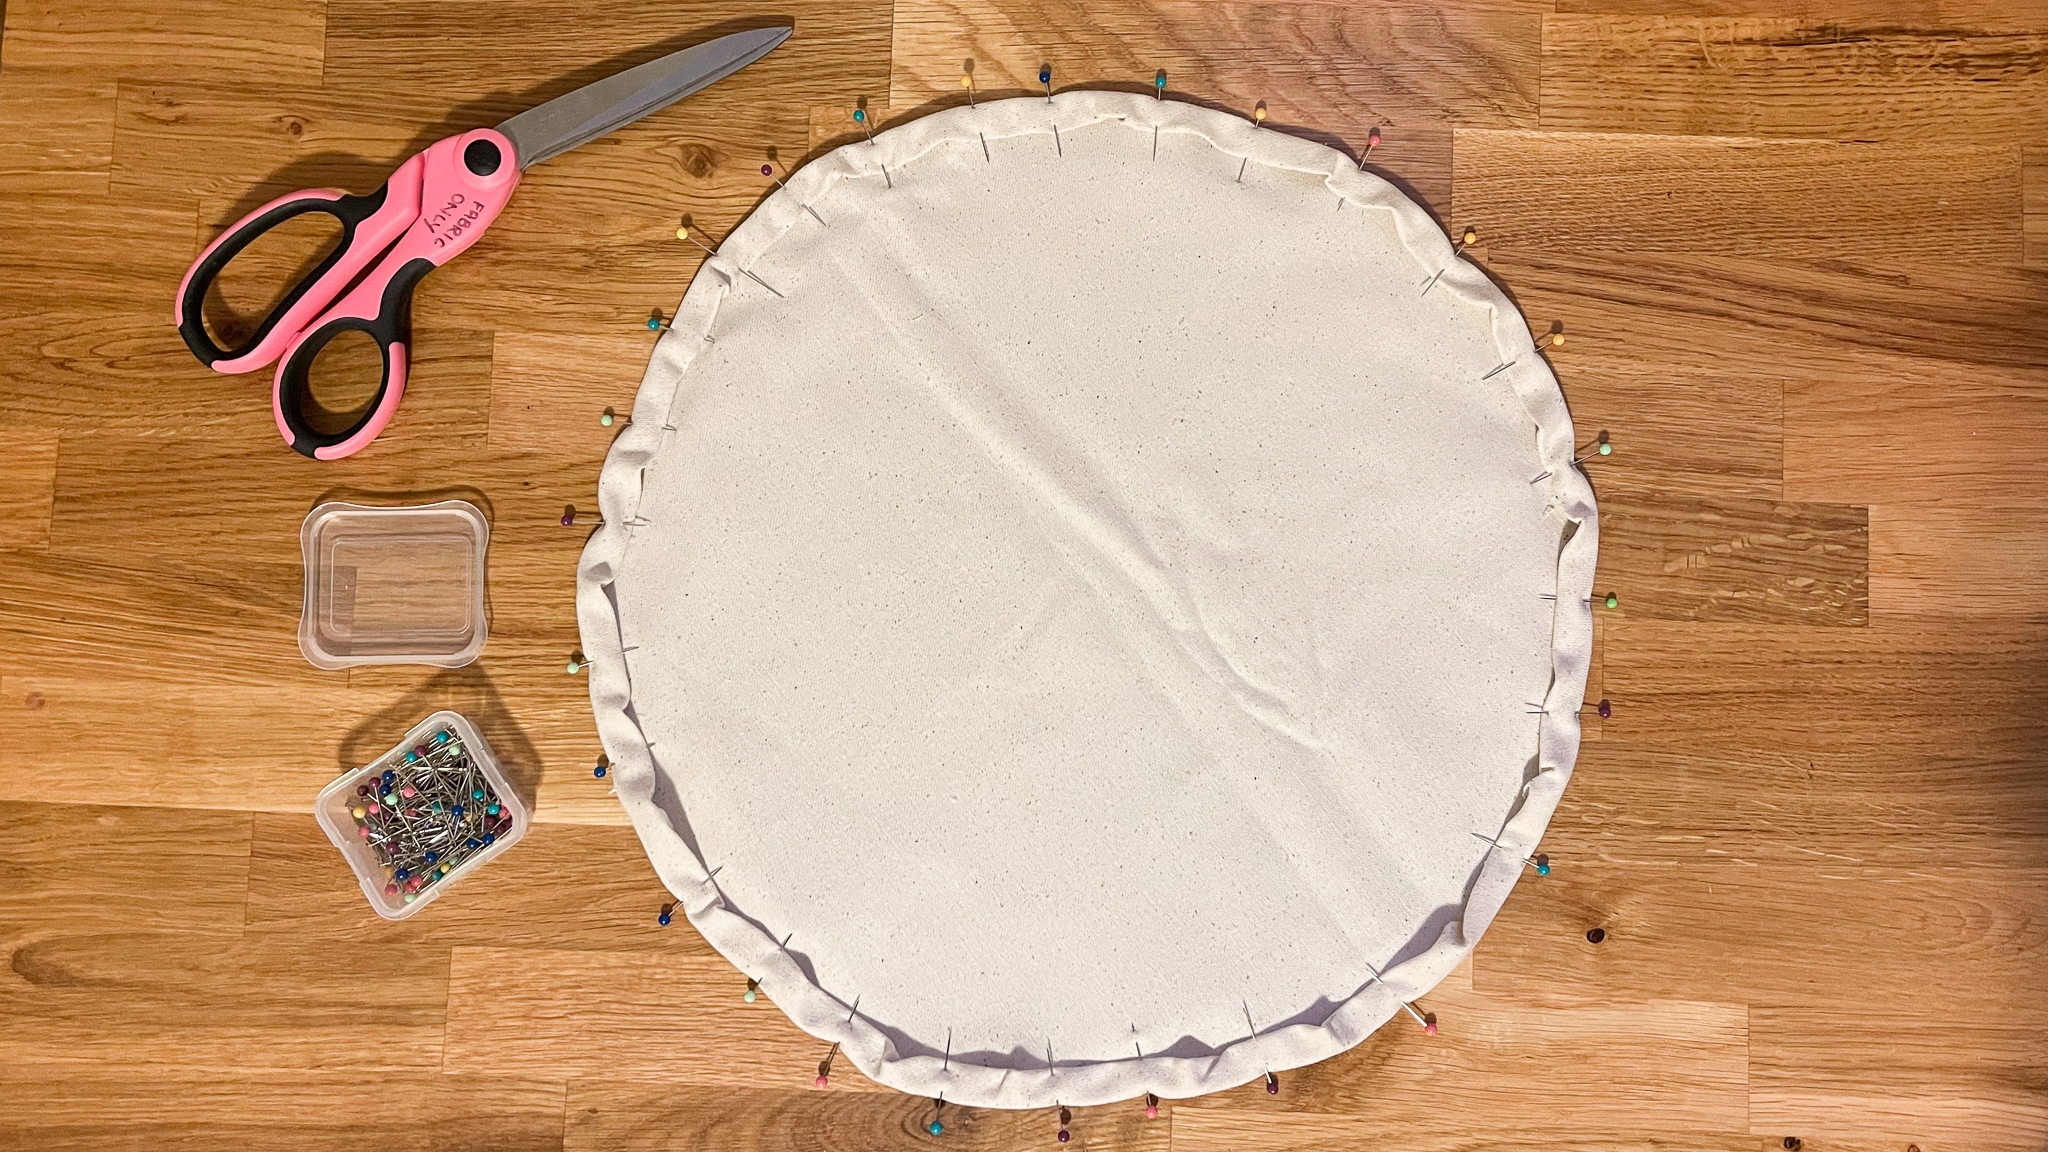
Cut 3/8" "V" shapes around the circumference of the circle. This will reduce the amount of fabric folded into the casing for the drawstring.

Begin folding and pinning the outer edge with a 1/2" hem to create a casing for the drawstring, which will keep your utility cover firmly on your seat. Choose a start and end point where you will leave approximately 1/2" un-sewn. This is where you will start your drawstring. Sew.
Step 3
Attach your string securely to a safety pin. Begin threading the safety pin through your casing until it goes all the way around and out the other side. Nylon or polyester string will slide through more easily, but twine will work just as well. This can also be done at the end so as not to get your sting tangled in the next few steps.

Step 4
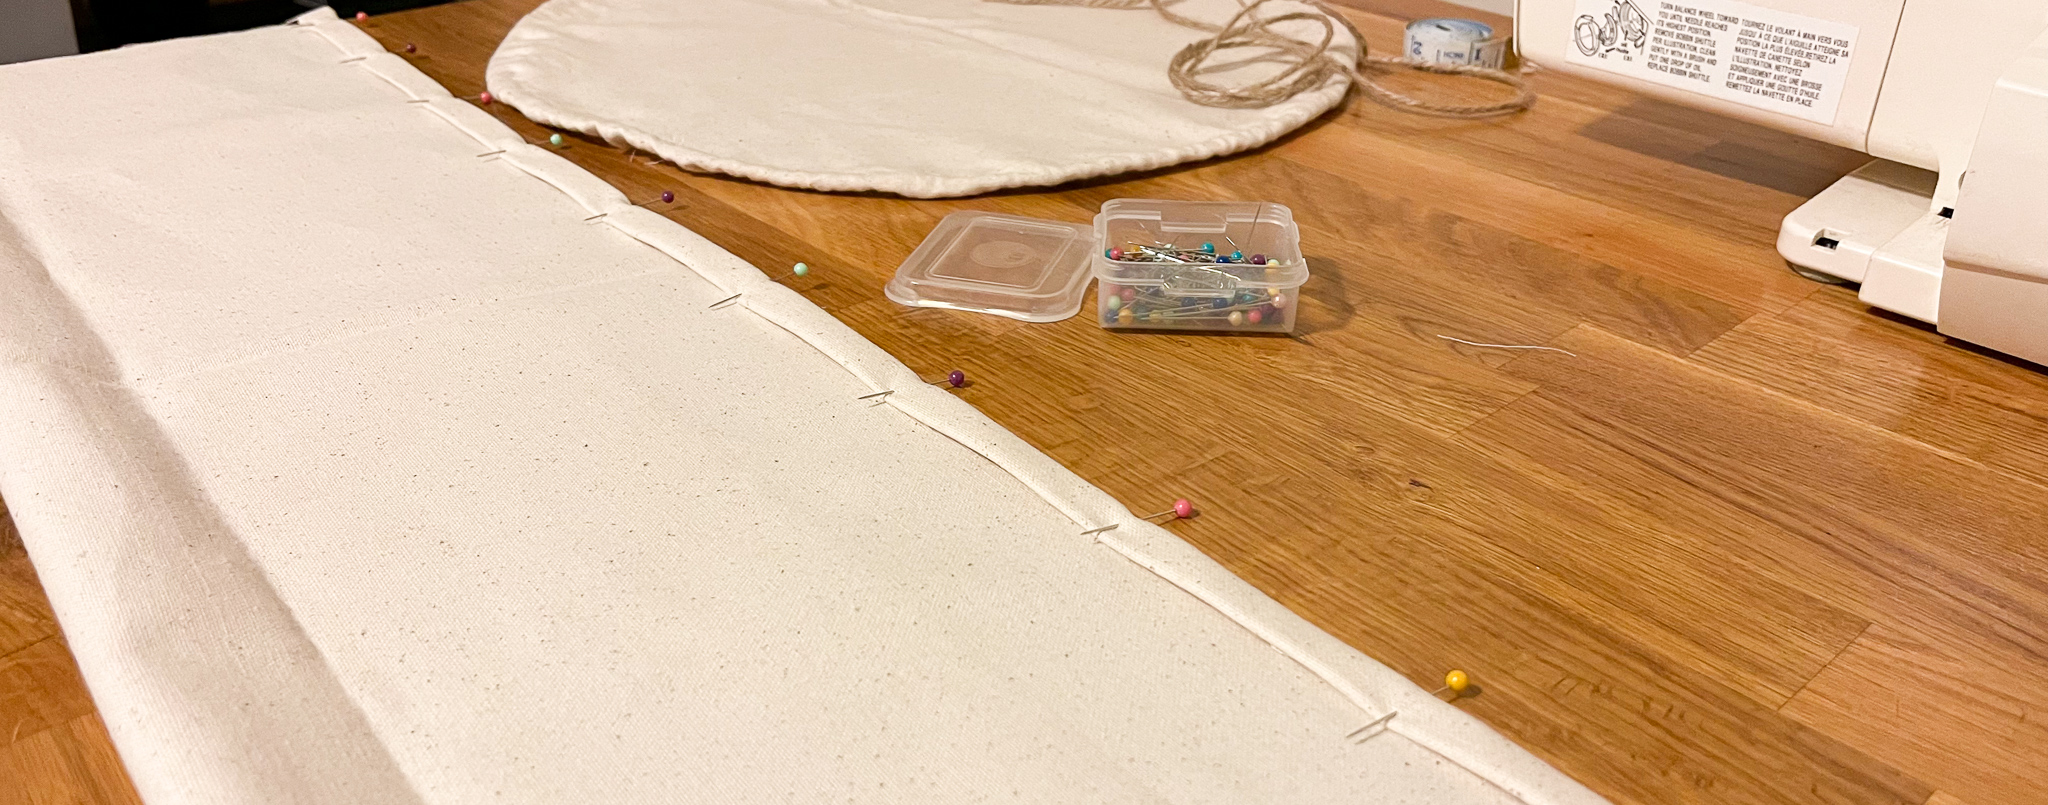
Fold over twice and pin one long side of your rectangle with a 1/2" hem. An iron can be used for a cleaner fold. Sew.
Step 5
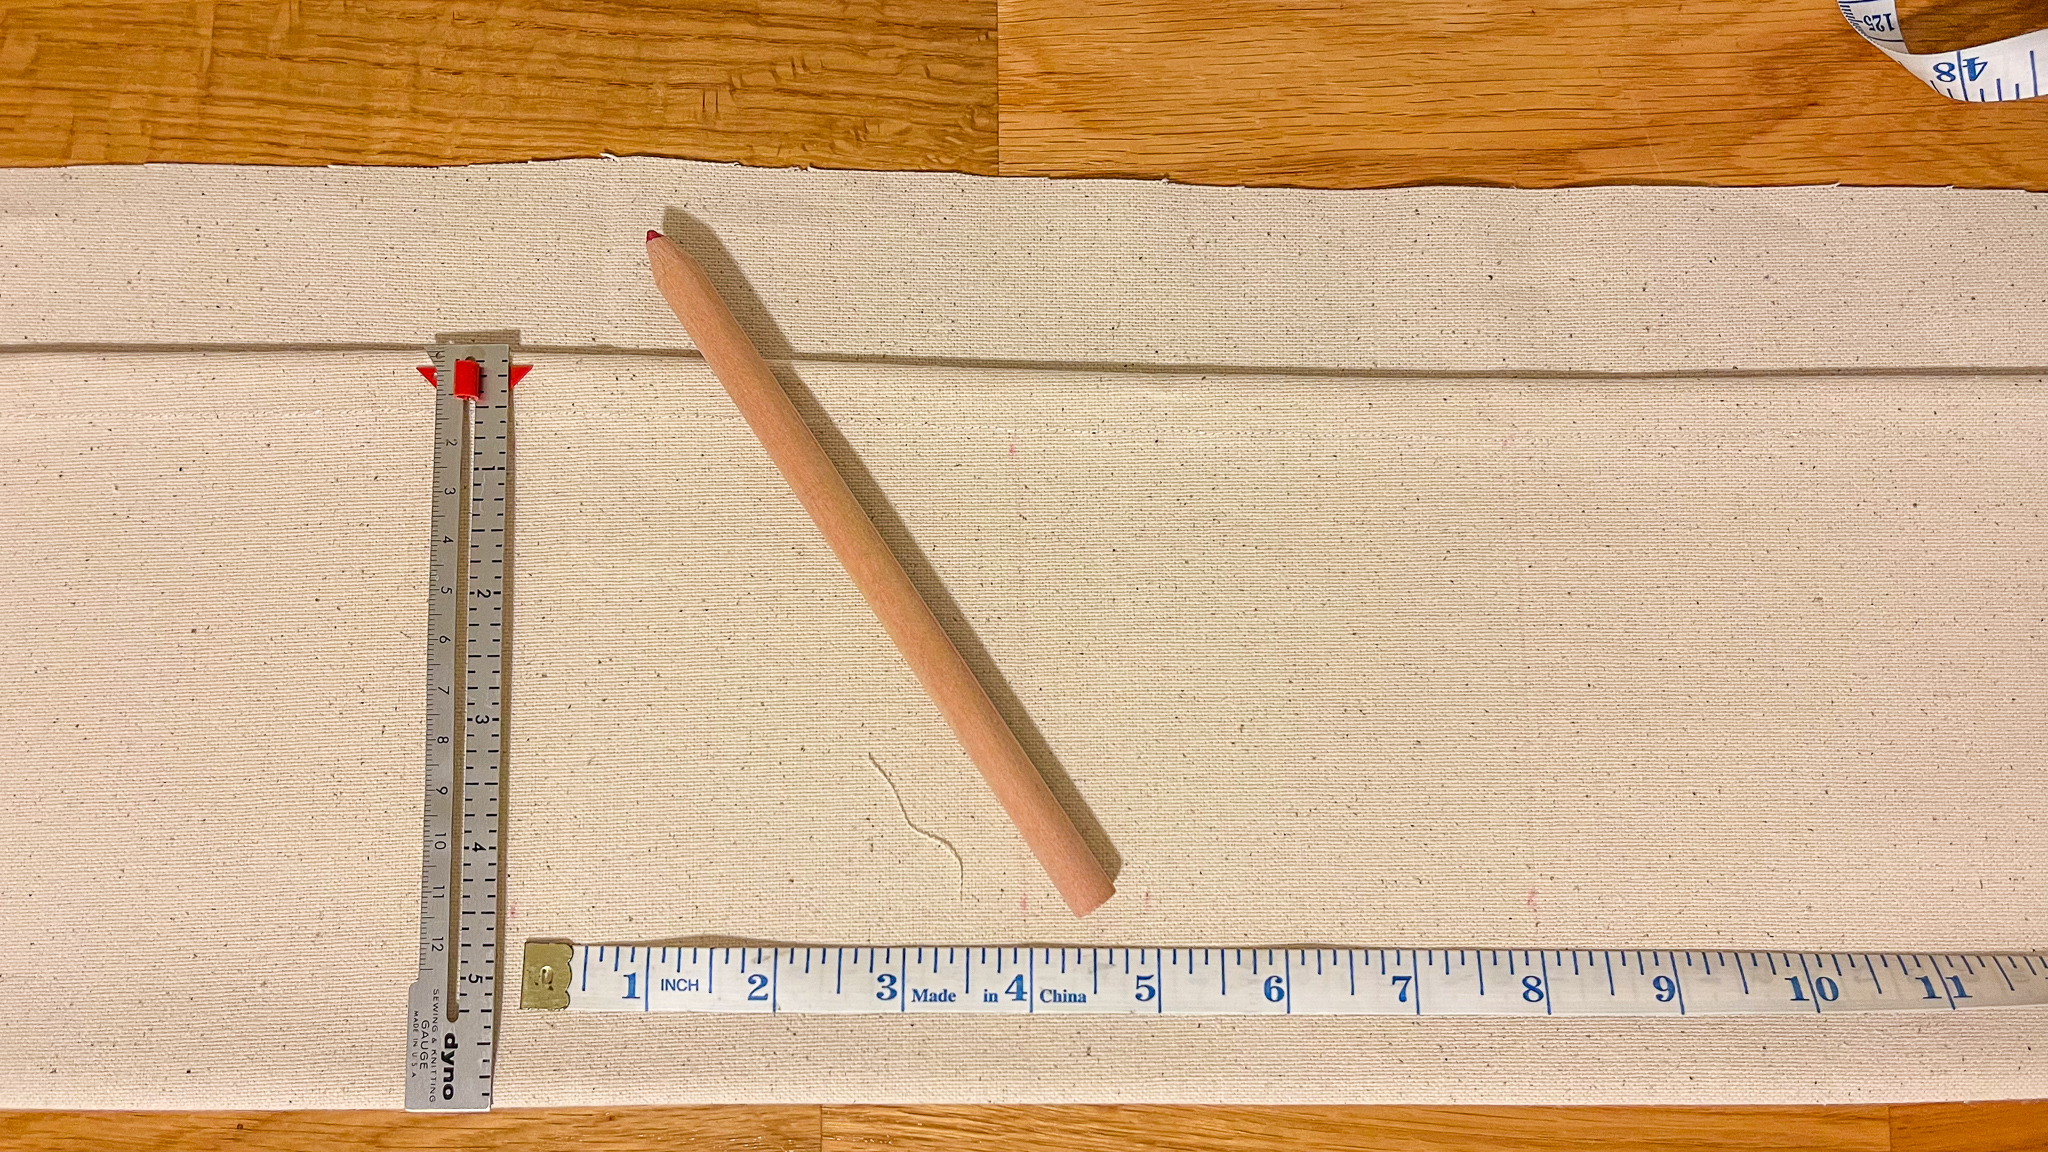
Fold the hemmed side over to create a large pocket. Allow 1-1/2" from the hem to the raw edge of the other side. Mark your pocket sizes. Recommended 4"-5" minimum. Tip: For more spacious pockets, it's recommended to use two pieces for this part, half the width and with one rectangle longer than the other with regularly placed pleats per pocket. Then stitch the two together along the bottom.
Step 6
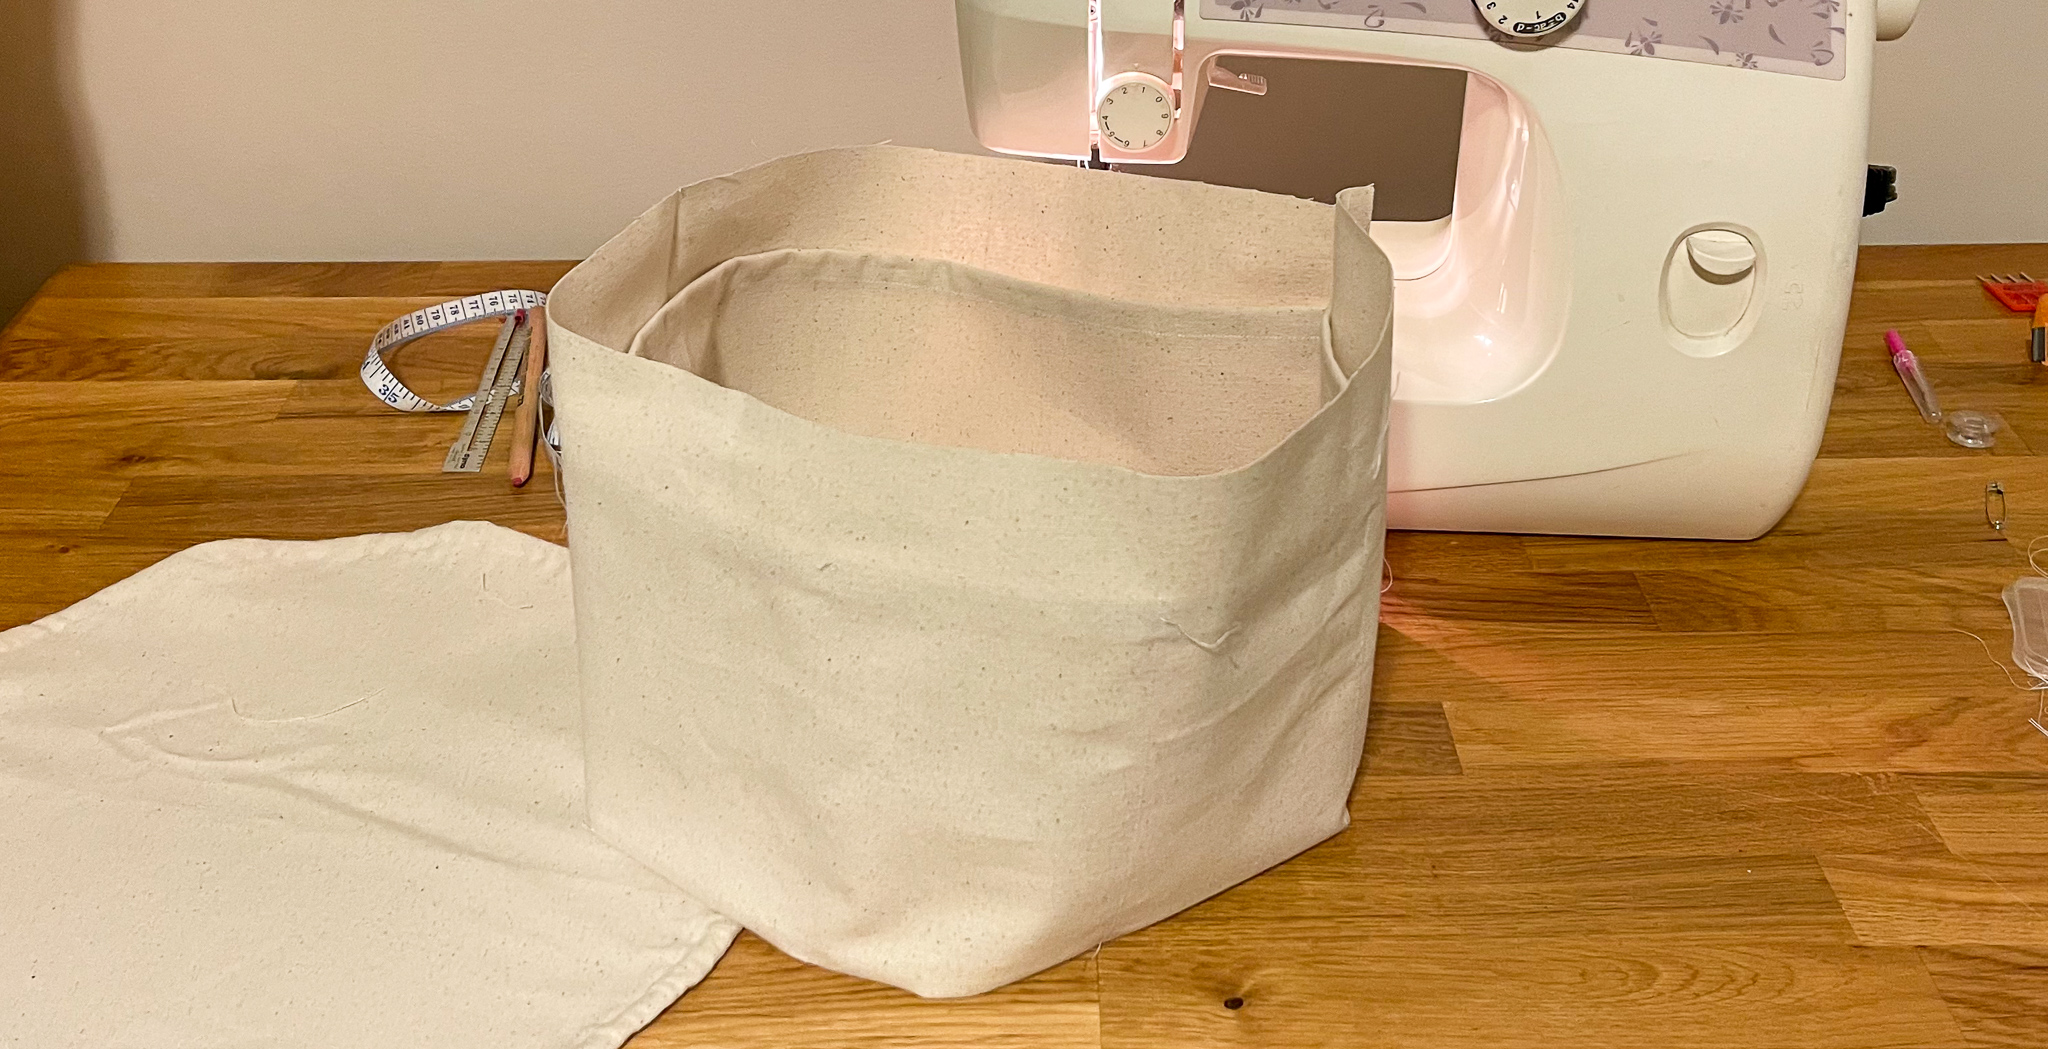
Stitch along each of your determined pocket sizes. With pockets facing each other, sew the ends together to create a tube.
Step 7
Cut 3/8" "V"s into the raw edge of the tube you just created. Pin this to the right side of the circle, with pockets still facing inward. Sew around the circle. Turn pockets right-side out. Place it overtop your stool, working the drawstring over the top of the seat, then cinch tight to secure. And you're done!
Check out the Rock & Reach Garden Seat HERE for more.


